
Home EV Charging Installation Tips
Getting a home EV charger installed seemed straightforward until I actually tried to do it. Three electrician quotes, one permit rejection, and a garage rewiring later, I learned everything about what makes this process smooth — and what makes it a nightmare. Here’s what I wish someone had told me before I started.
Pick Your Charger Before You Call the Electrician
Two charger types exist for homes: Level 1 and Level 2. Level 1 uses your standard household outlet, the same kind you’d plug a lamp into. Level 2 needs a 240-volt outlet, like what your dryer uses.
Level 1 adds about 4 miles of range per hour. I tried this for two weeks and spent every morning doing range anxiety math. Level 2 gives you 10-60 miles per hour depending on the unit. That’s what makes Level 2 endearing to us commuters — plug in after work, wake up to a full battery, never think about it.
Figure out how many miles you drive daily. If it’s under 40 and you have all night to charge, Level 1 might work. Most people need Level 2 though.
Your Electrical Panel Might Be the Problem
My house was built in 1987. The electrical panel was full before I even bought the EV. A Level 2 charger typically needs a 40-amp or 50-amp dedicated circuit, and older homes often can’t handle that without upgrades.
Get an electrician to look at your panel first, before you buy anything. If it needs upgrading, that’s a $1,500-$3,000 addition to your project. I learned this the expensive way.
Don’t Install It Yourself
Level 2 installation involves working inside your electrical panel. This is not a YouTube tutorial situation. Hire someone licensed who has done EV charger installations specifically — they know the quirks, the code requirements, and they can pull permits properly.
Speaking of permits: check whether your city requires one. Many do. Your electrician should handle the paperwork, but verify it actually got filed. An unpermitted installation can cause problems when you sell your house.
Location Matters More Than You’d Think
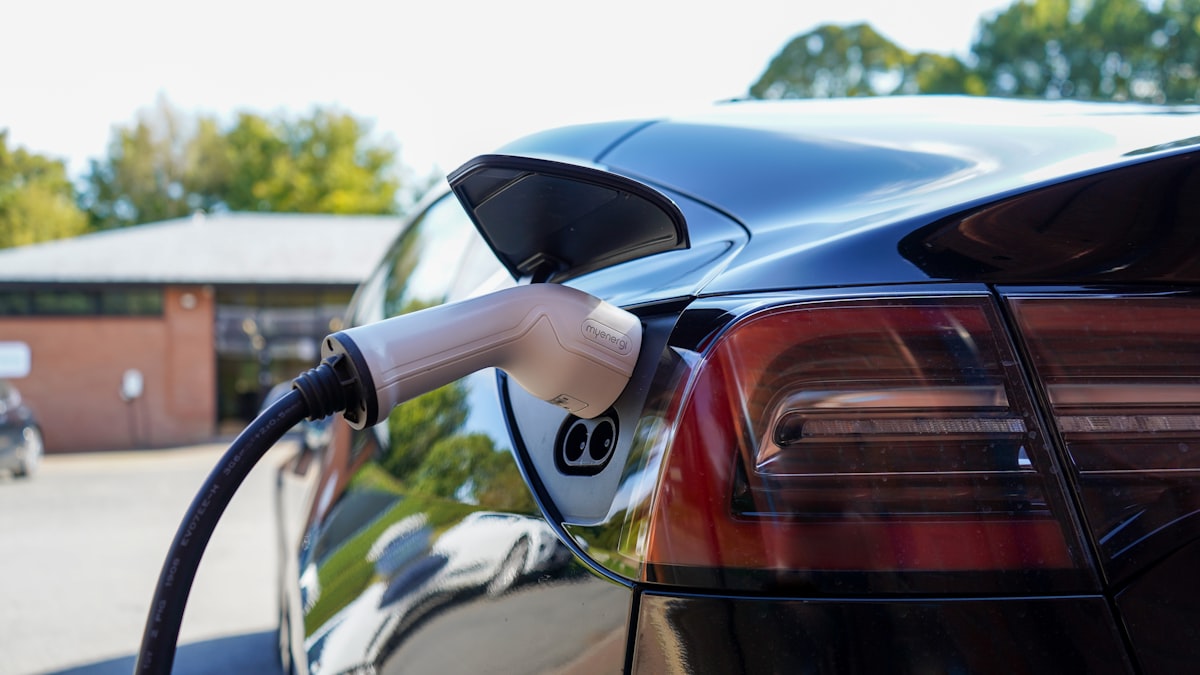
Put the charger where you actually park. Sounds obvious, but I’ve seen people install chargers on the wrong garage wall and stretch cables across the floor like tripwire. Close to your electrical panel keeps costs down since every foot of wire adds expense.
Cable management isn’t glamorous but matters. Cables draped on the floor get driven over and damaged. Wall hooks, retractable reels, or built-in cable management systems keep things tidy and extend the cable’s life.
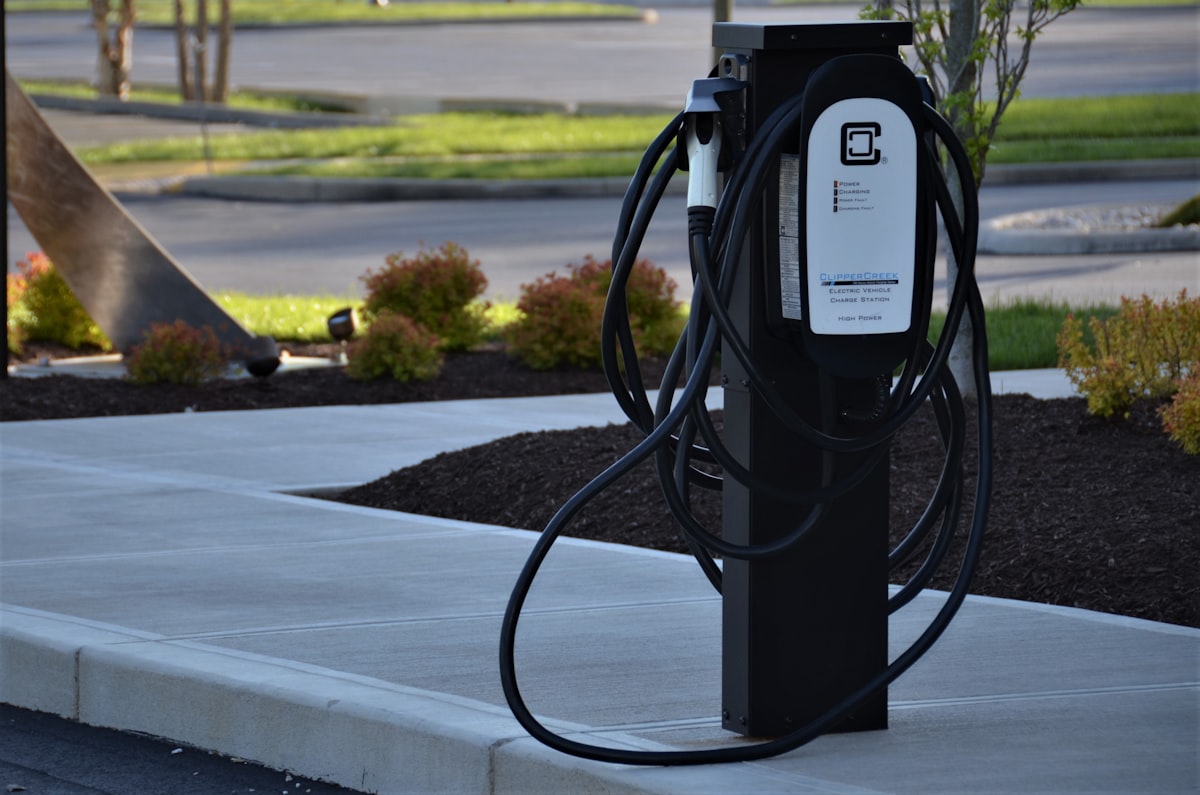
Weather Considerations for Outdoor Installs
Installing outside? The charger needs to be rated for outdoor use. NEMA 4 enclosures handle rain and snow. Some chargers come with built-in weather protection; others need add-on covers.
I’ve seen people cheap out on weatherproofing and regret it within one Pacific Northwest winter. Water and electricity still don’t mix, even with EV equipment.
Smart Features Worth Paying For
Modern chargers connect to WiFi and have phone apps. Initially seemed gimmicky. Turns out it’s actually useful.
Scheduling lets you charge during off-peak hours when electricity costs less. Usage monitoring shows exactly how much charging costs each month. Some units integrate with home automation, and a few even support vehicle-to-home backup power during outages.
Grounding and Safety Stuff
Your electrician handles bonding and grounding, but verify they actually do it correctly. Proper grounding prevents electrical shocks and protects against surges. It should be part of any professional installation and checked during permit inspection.
Think About Your Next Car
You might add a second EV eventually. Installing higher amperage capacity now costs less than upgrading later. Some chargers support dual connectors, and newer units offer higher power output that future-proofs your setup.
Know Your Electric Rates
Many utilities offer time-of-use pricing. Charging at 2 AM costs substantially less than charging at 6 PM. Smart chargers let you schedule around these rates automatically. I cut my charging costs nearly in half by switching to a TOU rate plan and only charging overnight.
What About Power Outages?
No power means no charging. If outages happen frequently in your area, consider backup options. Some chargers integrate with home battery systems or generators. At minimum, keep enough charge in your car to reach a working public charger.
Maintenance Is Minimal But Not Zero
Clean dust off the unit periodically. Inspect cables for wear, cracks, or damage. If the connector starts looking sketchy, replace it before it fails. Most chargers last 10+ years with basic care.
Home EV charging installation isn’t complicated once you understand the pieces. Check your panel capacity, hire a qualified electrician, get permits if required, and pick a charger that matches how you actually drive. The upfront hassle pays off every morning when you leave with a full battery.
Recommended EV Accessories
NOCO GENIUS10 Smart Charger – $79.95
Advanced battery maintainer and charger.
EV Charging Station Guide
Navigate the EV charging landscape.
As an Amazon Associate, we earn from qualifying purchases.


Stay in the loop
Get the latest northwestevcharge.com updates delivered to your inbox.